I had a lot of people ask me about my NYE hair so I figured I would let ya’ll in on how I do it with step by step instructions!!!! Let me know if I don’t go into enough detail and you have any questions!

1. Apply a small amount of Oribe’s Creme for Style (shown in hand) about the size of a nickle to the mids and ends of your hair. Once most of the product is off your hands go back through and rub it in the scalp and roots! If you can not find this most any styling cream with a flexible hold and heat protection will work!

2. Flat wrap hair with a boar bristle flat brush and blow dryer until hair is smooth. Flat wrap your hair in the opposite direction you want your hair to lay, this will give it more volume!


3. Once hair is completely dry, take your clip in extensions and start to apply. I can always do a full tutorial on applying extensions on another date!

4. Curl hair in sections with a 1 inch curling iron, you can use larger but I chose the one inch because of the look I was going for. On a daily basis tho, I usually use a 2 inch! Curl everything away from your face. I curled my hair in 3 different horizontal sections.

This is a picture of all of the hair curled, we are not done. Notice I did not curl all the way to the root on my top layer, I like my roots to be a lot straighter than the rest of my hair. Sorry, I have no makeup on yet!!! haha

5. Take your flat iron and straight the bottom 2 inches of your hair. Also pick up random pieces through out your hair and straighten the bottom 2 inches of those. I also straightened about 1 inch on the ends of the front sections of my hair! I then broke up all the curls by raking my fingers through it, teased at the roots a little bit, added some dry shampoo for extra lift and fullness and voila….

Finished Product. Through on some hairspray, mascara and lipstick and your ready!

BTW, the lighting in my bathroom is horrible…please excuse the orangeness! 🙂

Email me or contact me below under comments if you have any questions!
xo
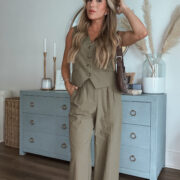 Fall Date Night Looks
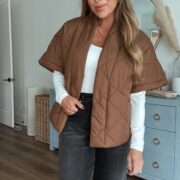 Amazon Style of the Week
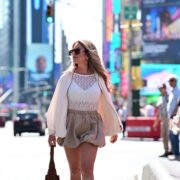 New York Fashion Week 2026 Trends + Outfits I Wore
Flat Wrap? Explain hairdresser!
Flat Wrapping is when you use your head as a board or as your brush to smooth the hair. Brush the hair against the head in the opposite direction you want it to lay (to give it volume) and aim the airflow of the blow dryer towards the end of your hair to smooth the cuticle until dry!!!
What brand/color extensions do you use?
I use evita 6 piece extensions in f613/27! You can find them on amazon.